
 Xrf Gold Analyzer
 Handheld Alloy Analyzer
 Handheld Mining Analyzer
 Other XRF Analyzer
If you’re working with XRF light element analysis, you know how tricky it can be to achieve accurate results for elements like Mg, Al, Si, and Na. Low fluorescence yields, high absorption of low-energy X-rays, and atmospheric interference often stand between you and reliable quantification. Whether you’re in mining, metallurgy, or precious metals assay, mastering how to improve XRF light element detection accuracy is critical to lowering detection limits and cutting errors. In this guide, you’ll discover practical, expert-backed steps—from SDD detector advantages, calibration techniques, to sample prep—that will boost your precision and make your XRF readings more trustworthy. Let’s get straight to the solutions that actually work.
Understanding the Core Challenges in XRF Light Element Detection
Detecting light elements like magnesium (Mg), aluminum (Al), and silicon (Si) using XRF can be tricky due to several inherent challenges. First, these elements emit low-energy characteristic X-rays that are prone to high self-absorption within the sample. This means that much of the signal can be lost before it even reaches the detector, limiting accuracy. Additionally, light elements have a low fluorescence yield, producing fewer X-rays compared to heavier elements, which reduces the overall detection sensitivity.
Another hurdle comes from atmospheric absorption—air between the sample and detector strongly absorbs these low-energy X-rays. This issue is particularly pronounced for elements like sodium (Na) and Mg, where even a small air gap can dramatically decrease detected signal strength, increasing measurement uncertainty.
Further constraints arise from the detector and X-ray tube capabilities. Traditional detectors may struggle with weak signals due to electronic noise, and limited tube power affects the excitation efficiency of light elements, resulting in lower signal-to-noise ratios and reduced count rates.
Lastly, complex samples bring challenges from matrix effects and spectral overlaps. Elements within the matrix can interfere by either absorbing or enhancing signals, while overlapping peaks from different elements create difficulties in correctly identifying and quantifying light elements. These factors can skew results, especially in precious metals analysis where accuracy in light element detection is critical.
Understanding these core physics and instrumental challenges lays the foundation for improving XRF light element analysis through optimized hardware, calibration, and sample handling techniques.
Optimize Instrument Configuration for Light Elements
Improving XRF light element detection starts with the right instrument setup. First off, Silicon Drift Detectors (SDD) have clear advantages over traditional Si-PIN detectors. SDDs offer better energy resolution and higher count rates, which are crucial for detecting low-energy X-rays from light elements like Mg, Al, and Si. Their faster processing also reduces signal noise, improving overall accuracy in your measurements.
Another key factor is the detector window. Using ultra-thin windows, such as those made from graphene or specially designed polymers, significantly boosts low-energy X-ray transmission. This reduces absorption losses right at the detector, allowing for clearer signals from light elements that otherwise might be dampened.
When it comes to X-ray tube settings, focus on high power at low voltage (kV). Increasing the tube current while keeping the kV low enhances excitation efficiency for light elements without raising background interference. This balanced approach provides stronger fluorescence signals from elements like sodium and magnesium.
Atmospheric conditions between your sample and detector strongly affect light element detection. Air absorbs low-energy X-rays, so using vacuum mode or a helium purge system reduces this absorption substantially. Helium purge is often preferred for benchtop analyzers as it’s easier to maintain than a full vacuum and still improves detection limits for light elements.
Optimizing these instrument settings can dramatically improve your XRF light element analysis, delivering more accurate and reliable results—essential for applications like precious metal assays where precision is key. For those who focus on gold testing and require precision in assay results involving light elements, consider advanced models such as our WM232C XRF gold testing machine, designed with top-notch detector and atmospheric control options.
Master Sample Preparation Techniques for XRF Light Element Detection
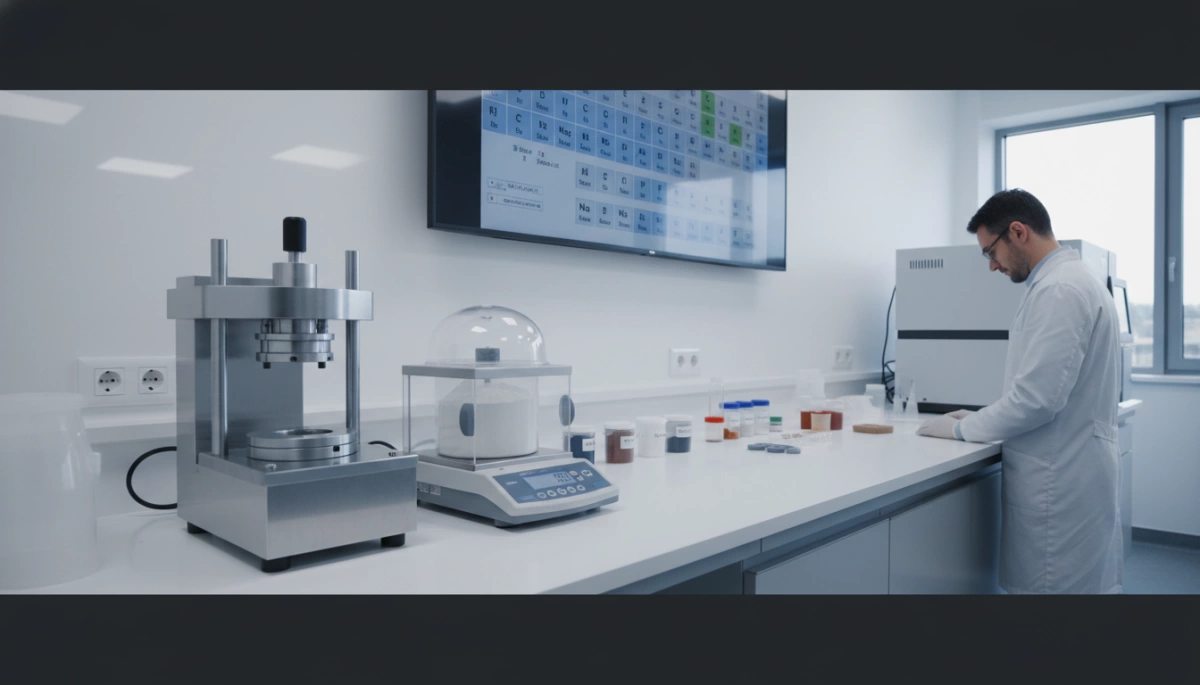
Proper sample preparation is key to improving XRF light element detection accuracy. Here’s how to get consistent and reliable results:
- Flat, clean, homogeneous surfaces: Make sure your samples have smooth, even surfaces free from dirt or oils. This reduces low energy X-ray absorption variations and improves measurement repeatability, especially for elements like Mg, Al, and Si.
- Powders and loose materials: For powders, grind finely and then prepare pressed pellets or fused beads. This ensures a uniform, dense sample that minimizes matrix effects and surface irregularities that can lower detection limits.
- Avoid surface contamination: Any coatings, oxidation, or residues can distort light element signals. Always clean samples thoroughly before analysis to prevent interference that leads to XRF testing errors.
- Special care for precious metals and alloys: When analyzing gold and its alloys, polishing is essential to maintain a flat, scratch-free surface without altering the composition. Minimal surface disruption helps reduce error margins in light element quantification, especially since gold’s high atomic number can mask low-energy X-rays from light elements.
Taking these steps in your sample prep will significantly boost the accuracy of XRF light element analysis. For high-precision gold testing and related applications, you might find our detailed insights on accurate gold purity testers and handheld mining analyzers very useful.
Develop Effective Calibration Strategies for XRF Light Element Detection
Accurate XRF light element analysis starts with solid calibration. Using matrix-matched or synthetic standards that closely represent your samples’ light element concentrations is crucial to reduce errors. This approach ensures your calibration curve reflects real conditions, improving quantification for elements like Mg, Al, and Si.
Decide between empirical calibration (based on measured standards) and fundamental parameter calibration (using physical models). Empirical works well for consistent sample types, while fundamental parameters help when matrix variations are complex or standards are limited.
To maintain reliable results, implement regular drift correction and frequent stability checks. These reduce long-term measurement shifts, keeping your data consistent over time.
Advanced calibration tools, including curve-fitting regression and modern software-based corrections, can further boost accuracy by refining how light element signals are quantified, compensating for spectral overlaps and matrix effects.
For practical recommendations tailored to precious metals and mineral detection, explore resources like our high-precision mineral detection equipment page to deepen your understanding of calibration methods that combat XRF light element testing errors.
Apply Data Processing and Correction Methods
Improving XRF light element detection accuracy goes beyond hardware — smart data processing plays a big role. Start by using spectral deconvolution techniques to untangle overlapping peaks in complex matrices. Light elements often produce signals close to others, so resolving these overlaps is key for clean results.
Next, apply attenuation and self-absorption corrections tailored for low-energy X-rays. Light elements like Mg and Al suffer more from these effects, which can skew their measured intensities if left unchecked. Correcting for this ensures more reliable quantification.
To get better precision, increase counting times during measurement. Longer counts boost statistics, cutting down detection limits and improving the signal-to-noise ratio—essential for detecting trace amounts of light elements.
Lastly, take advantage of advanced software tools. Many modern XRF systems offer AI-assisted calibration, background subtraction, and matrix corrections that refine results automatically. These methods reduce human error and help maintain consistent accuracy, especially when working with tricky matrices like precious metals.
For professional-grade results, combining these data correction strategies with optimized hardware will significantly improve your XRF light element analysis precision. If you’re working with precious metals, check out our expert solutions for minimizing XRF testing errors in precious metals here.
Hardware and Maintenance Tips from Industry Leaders
To improve XRF light element detection accuracy, upgrading to modern analyzers is a game changer. Choose benchtop or handheld XRF testers equipped with Silicon Drift Detectors (SDD) for better sensitivity and lower detection limits on light elements like Mg and Al. Using helium purge or vacuum mode options significantly cuts down on atmospheric absorption, enhancing the accuracy of your measurements.
Routine maintenance is just as important. Regular detector cleaning prevents signal loss, while scheduled X-ray tube inspections help maintain consistent count rates and tube stability. Controlling the measurement environment—keeping stable temperature and humidity levels—reduces instrumental drift and noise, which is crucial for precise light element quantification.
Industry case studies show that these hardware upgrades, combined with disciplined maintenance, drastically reduce measurement errors when testing precious metals involving light elements. For those dealing with gold assays, maintaining peak instrument performance directly impacts accuracy and reliability.
If you want to explore more about maintaining high accuracy in gold testing, check out our detailed gold testing machine calibration and gold testing machine accuracy resources for practical tips and industry insights.